Are you looking for the easiest way to unleash the full capability of your newly acquired Samsung galaxy note 3? Well, if you are then this is the ultimate guide you need for the N900 on Android 5.0. Without further ado, let’s get started and see how this note 3 lollipop root works!
Key Requirements
Please make sure that you have installed the required USB drivers before proceeding with rooting Note 3. Make sure that you have enabled USB debugging mode. If you haven’t, then you might do so by:
- Navigating to settings tab.
- Tap about phone and on the new interface, you have to scroll to the bottom.
- You then have to tap on build number 7 times.
- After the above step, you should get a notification that you are now a developer.
- The next thing is to go back to the developer option and then simply check USB debugging and that is it!
Make sure to backup all the important files to a separate external memory in case the process of trying to get a rooted note 3 lollipop fails and you lose all your content.
Finally ensure that you have charged to over 60%. With all these in place, then you are not ready to start and understand the benefits of why root note 3 lollipop.
Required Downloads
The below files are required for this specific guideline.
- CF-Auto-Root
- Odin v3.09
Important Notice
Before proceeding, remember that this operation:
- Will most definitely void your warranty
- May potentially get you bricked.
Procedure
Now that you have known all that is deemed of you, you may now proceed with the process. Follow the bellow steps in a sentential manner, otherwise, this will now work!
- Extract the downloaded root package above to get a file with the .tar.md5
- Power off completely by holding down the power button for up to 7 seconds.
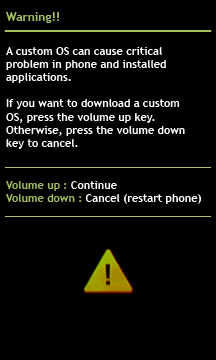
- Now enter into the download mode by holding down the home + power + volume down buttons simultaneously. NB: You may be asked to press a button to proceed with the operation – simply press the indicated button to continue.
- Now launch the Odin application that you downloaded on your PC.
- Whilst in download mode, connect your now ready phone to your computer using the appropriate USB cable. Odin will then indicate that it has detected the connection by turning one of its COM boxes blue.
- The next thing is to click on the AP button then navigate to the folder where you extracted the file in the first step.
- Make sure that Auto-reboot and F.Reset Time options are not selected, as well as confirm that the Repartition button is not selected as well. After that, you have to hit the Start button to begin the process.
- Once the process completes, a reboot process will follow and that is it! If the process is not successful, then that means that you have not followed the steps as they are!